Are you confused about whether it is safe to put bleach in your RV tank? Want to know how to drain an RV’s fresh water tank for cleaning and other purposes—concerned about necessary health and safety issues?
Well, drop all your worries when you have the Dr. RV, i.e., US, right at your rescue. Camping and adventures are equivalent to soul-searching for trailblazers. While it is fun roaming around in strange lands, a stomach ache or unwanted diarrhea can be a mood spoiler, all because of unclean water at your disposal.
We have shown you a picture of the worst, and now we are here with a solution. Keeping your RV tank clean is not just a responsibility, but a dire need for you, and cleaning solutions come with the necessary salt for bleaching and draining. But are they SAFE? Let’s delve into detailed discussions on such intricate topics and determine what is best for you.
Is It Safe to Use Bleach in RV Fresh Water Tank?
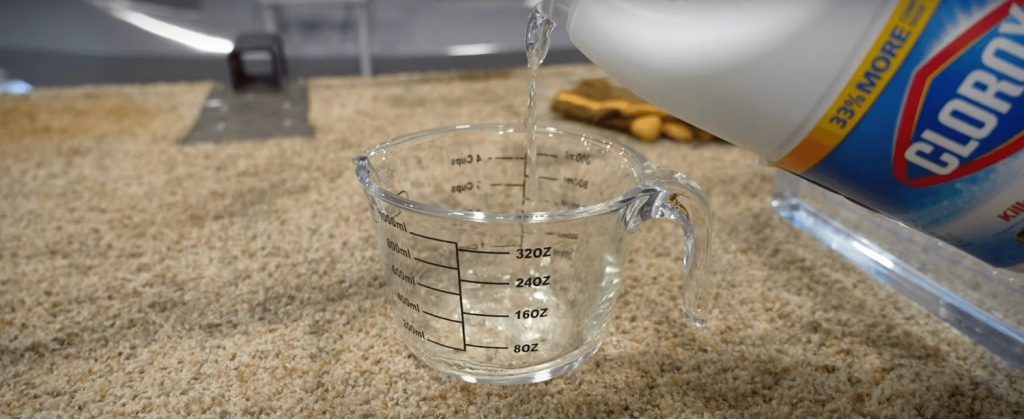
Yes and No! While putting chlorine bleach is very important for cleaning and cleansing your RV’s fresh water tank, it must never be put directly into the tank or drains. Never add BLEACH directly into your fresh water tank, as it will harm and damage your holding tank, drains, and RV plumbing. But this doesn’t mean you will skip adding them at all. First, dilute them in a gallon of water using your bucket, pitcher, or whatever item you have in handy, and then mix it up in your RV’s fresh water tank.
How Much Bleach is Too Much Bleach?
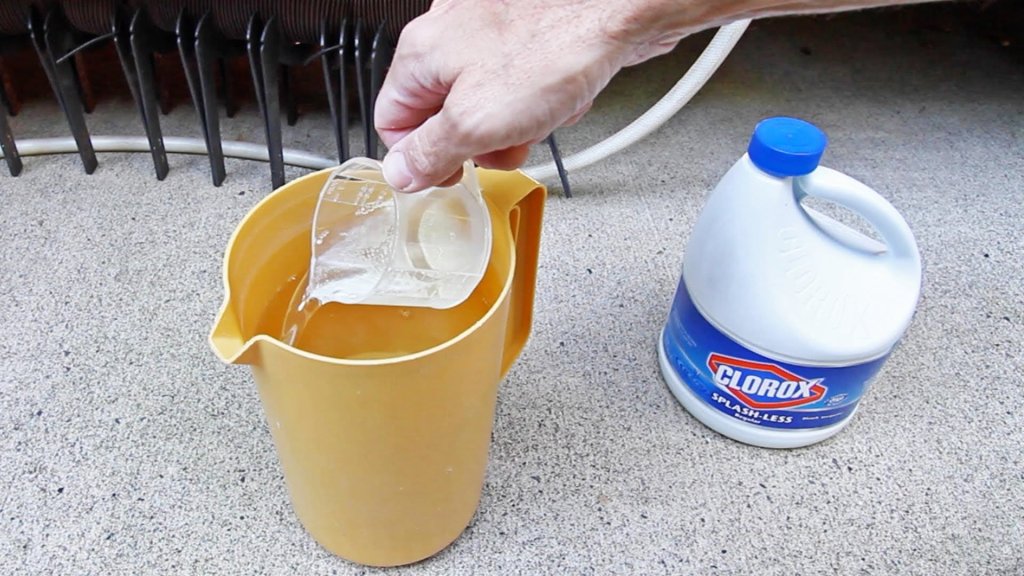
We have done the math and some surveys, too. Most RVers prefer putting in a full cup of bleach in every 50 gallons of water. Therefore, if your water tank can capacitate a hundred gallons of water, two cups of bleach are the right pick for you.
If you prefer killing microorganisms at a greater level, you can add in one cup of bleach for 40 gallons of water, and if you prefer going light on bleaches, one cup for sixty gallons of water can work, too.
How to Disinfect an RV’s Fresh Water Tank?
By now, we know how important it is to use bleach, and we have seen a rough map of the quantity as well. But adding in bleach is not just the solution. There is a way of doing this: the right way! Only by following these rules and procedures can you have clear, clean, and healthy water for all your work, like bathing, drinking, cooking, and whatever.
Let’s take a quick look at how to clean your RV’s fresh water tank correctly.
Step 1: Turn Down the Water Heaters
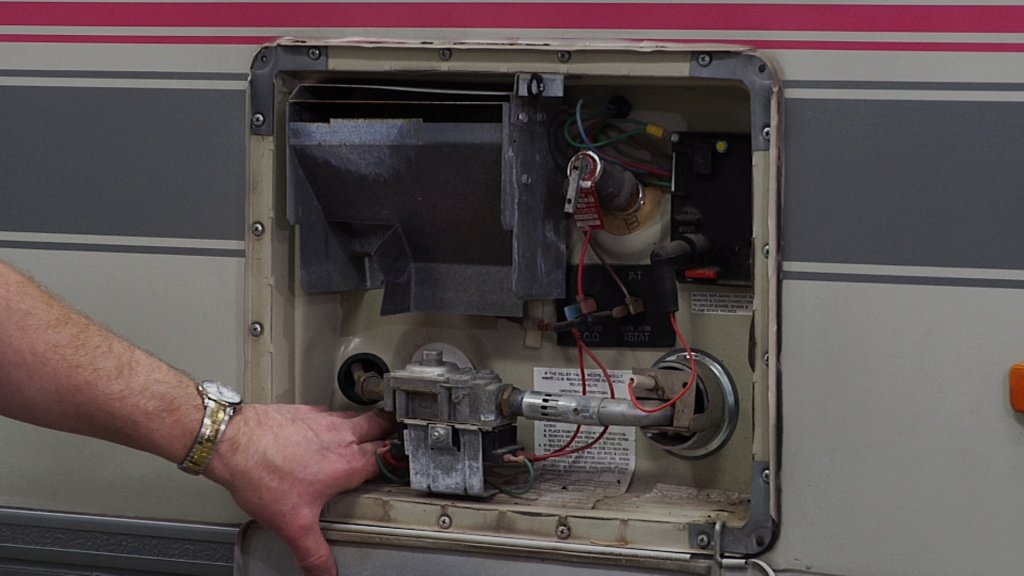
Switch off your water heater. Drain all the stored water and change valves to bypass water heaters.
Step 2: Drain It All Out
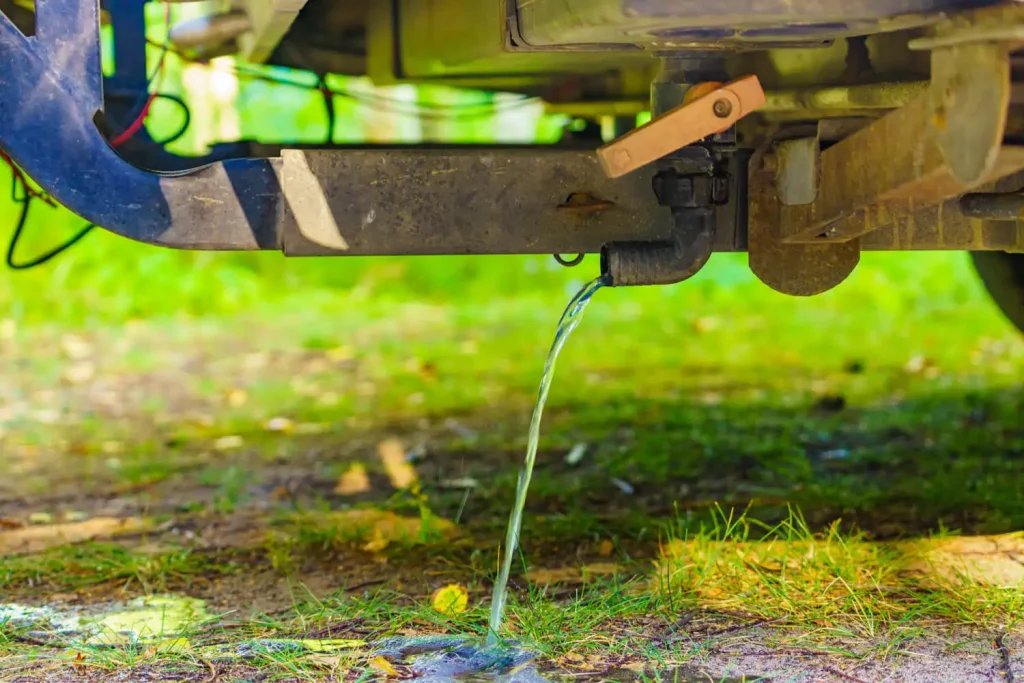
Open the valves of the freshwater tank and water lines to drain out every drop of water. Our tip is to do this in a green area to conserve water by soaking in the soil.
Step 3: Pour in Bleach
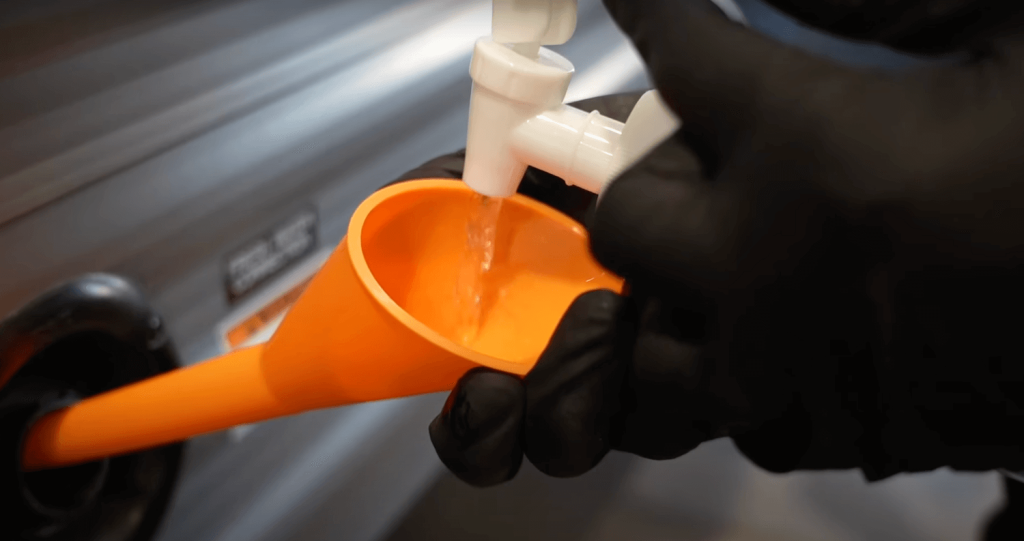
Mix the bleach in water and dilute it as stated above. Now, add this mixture to the freshwater tank using a funnel or any other apparatus at your disposal. Remember, never add bleach powders directly to the water tank.
Step 4: Fill It Up
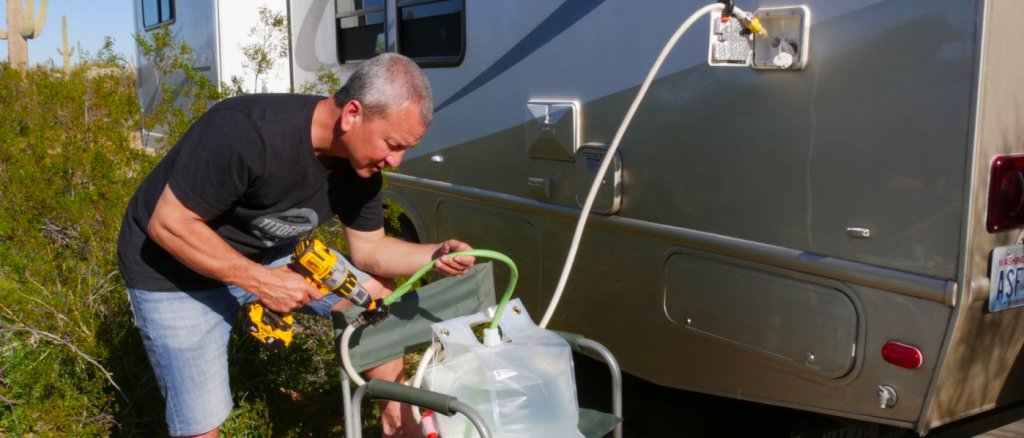
Fill your tank with potable water. When the under-tubes or overflow tubes of the RV start expelling water, you will know that the tank is full.
Step 5: Drain Excess and Let It Sit
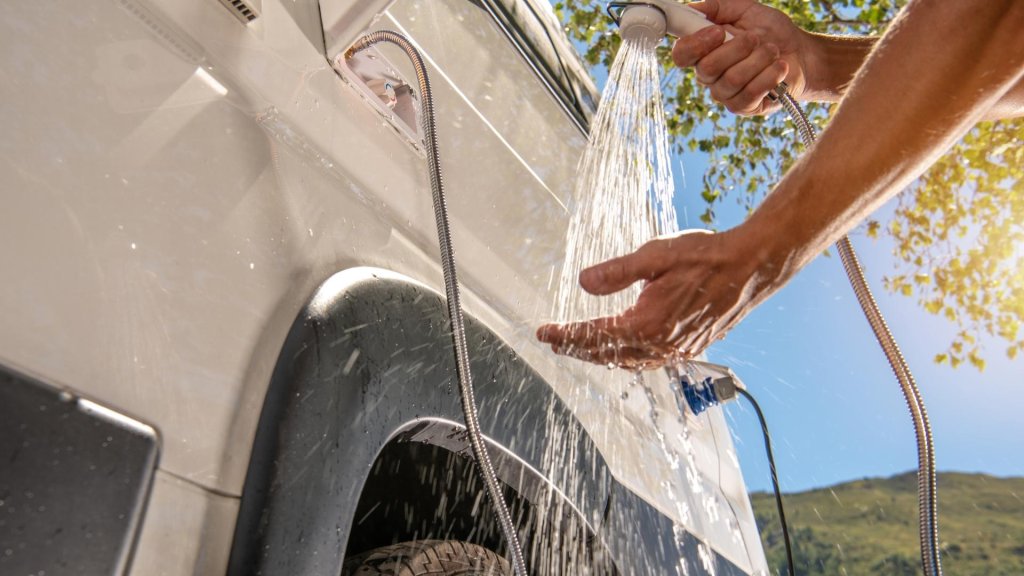
Turn on all the faucets, shower, and water outlets of your RV, and let the water drain until the bleach smell is gone. This will ensure that bleach disinfectant has reached every nook and corner of the pipelines, killing germs and microorganisms. Let the bleach sit in the water tank by leaving it untouched for at least 12 hours. Our tip is to keep some clean water saved separately so that you will have something at your rescue for a while.
Step 6: Drain and Flush Again
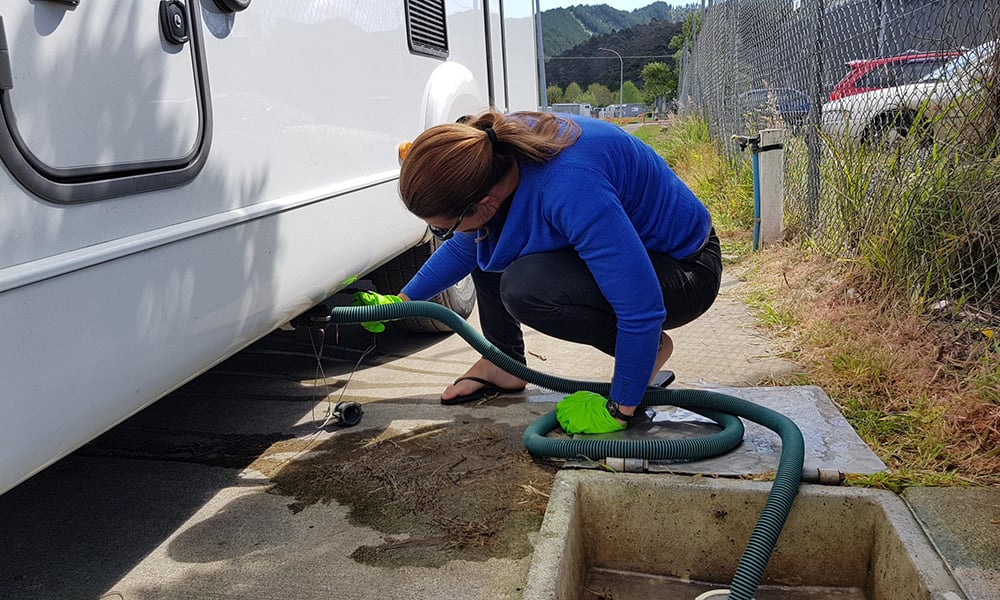
Drain the entire water system again. This will let the bleach get soaked in the plumbing system of your RV. After draining it entirely, fill in the freshwater again. Run it through the entire RV’s water system by opening up all the valves, faucets, and showers attached to your RV.
Step 7: Turning Off the Water Heater Bypass
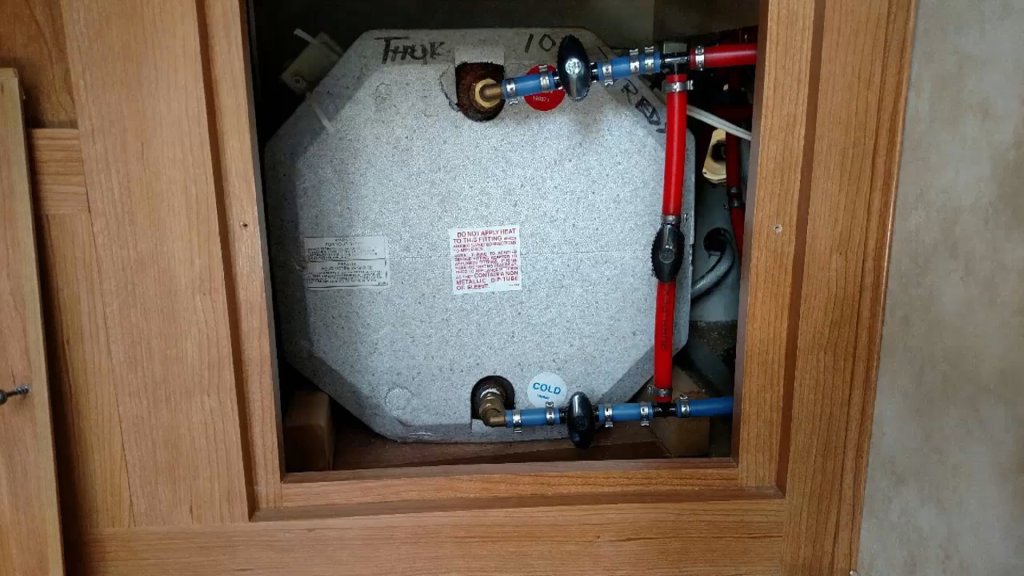
Turn the water heater bypass OFF to refill and use the water heater from the start. You have a cleansed fresh water tank now. Stay safe and stay healthy!
What Type of Bleach is Preferred for An RV’s Fresh Water Tank?
Again, depending on our surveys, the most common bleach that almost all RVers use is liquid household bleach. There are a few things that you must consider before buying any regular liquid household bleach from the market. They are:
- Never use ‘Cleaner Plus Bleach.’
- Refrain from using scented bleaches.
- You must never use bleach powders.
What are the Time Codes for Using Bleach in an RV Freshwater Tank?
Bleaching and cleansing an RV’s fresh water tank is a long and tiring process. It is recommended to drain out all the water from the system, then add the diluted beach and then drain again, and then refill the tank..again!
But amidst all this, the most time-consuming part is the settling of bleach in the RV’s freshwater system. Our experts code out a magic time code for this. Depending upon the kind and brand of bleach you are using, the maximum time you should give for their settlement is EIGHT hours, which is the bare minimum.
Final Thoughts
So, this was all about bleaching and cleaning your RV’s fresh water tank. Remember, traveling is important, and so is your health. Although the entire process is tiring and exhausting, you must never refrain from doing so because, with clean water, you get a beautiful bonus of a healthy life.
We recommend you to do this during night time. This will give you and your bleach enough time to rest and settle.
We have tried summing up everything necessary for you, but this is, again, just the helm of a huge cloth, so we will soon be back with more exciting updates, insights, tips, and tricks of RVing and adventures, but until then, ADIOS!

