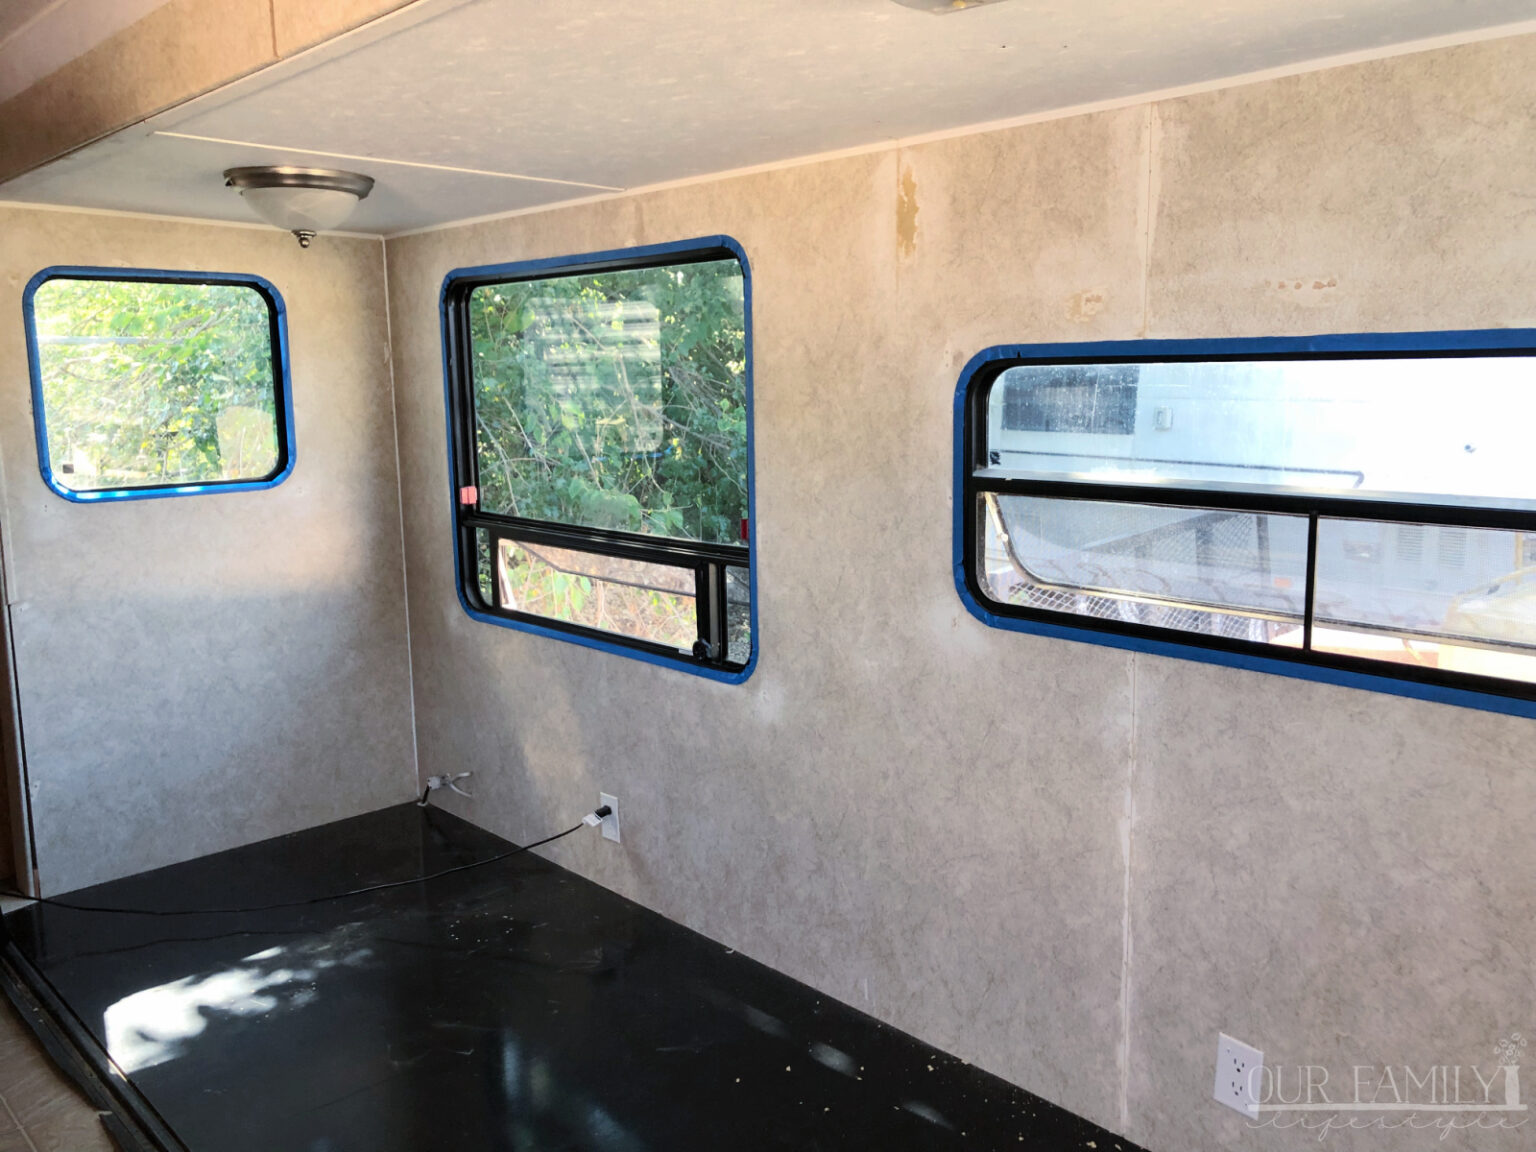
Life in an RV is exciting as you can spend some time on the wheels.Spending time in your RV could be fulfilling when you give it a makeover like your home.
So, are you thinking about giving your cozy area a revamped look? As you enjoy some quality time on wheels, ensure you do justice to the RV walls.
Painting the walls of the RV could be a fun activity. But the most crucial part is that you are modifying and improvizing the look of your boring walls.
There are specific steps that you need to follow for painting RV walls. You will enjoy the new look of your RV, a motivational factor if you are holidaying. With a bit of difference in the walls will feel like being in a completely new environment.
Painting the RV walls could be exciting, but you must follow a few steps.
Steps To Paint RV Walls
- Make a Plan: Before finally touching the painting project, you must determine many factors. Decide the time of painting, the brushes you might require, the roller you might need, or maybe spray paint. You have to finalize which walls to paint first, and then if you want to paint the ceilings and the trim along the top of the walls. Before starting the work, your plan has to be crystal clear.
- Determine the Products: You must determine what paints will be used for the walls and the cabinets. You can decide on the primer and then the final coat of paint. Solid wood will require a different process from pressed wood covered in vinyl laminate. You can research and look for the best color for your interior.
- Do all the Preparatory Work: To account for the initial job, you can remove or cover all the floors and furniture. You must remove the cabinet hardware and tape off the covering countertops. Cover any light fixtures or anything that you don’t want to have painted.
- Use Sand and Prime: You will have to sand off and remove any existing paint over the walls and then use the primer. After putting the primer, you can work on a color or a combination of paints to make your walls look the best.
- The Actual Painting: The actual painting is about hiring special tools, equipment, rollers, and paint brushes and then painting the wall in sections. You can decide on a color combo or a sculpture painting on a wall as a special project. Your painting project requires planning, and you have to execute it nicely.
Supplies Needed For Painting The Walls
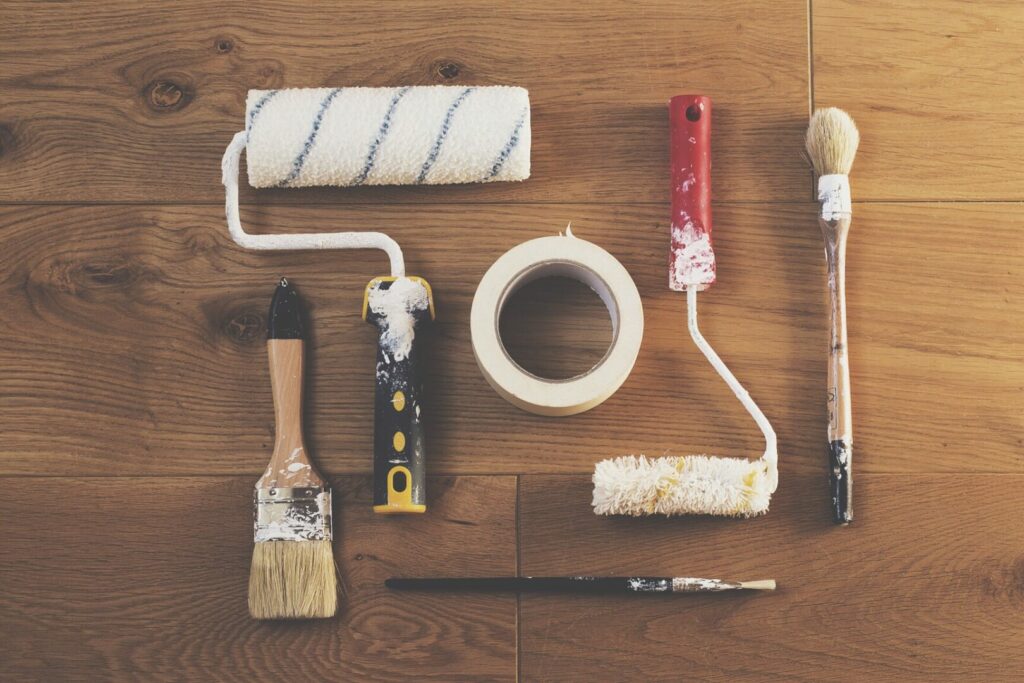
Before painting your walls, you must ensure that some supplies are ready at your home to make the procedure much more accessible.
- Paint ( that’s a mandate)
- Primer ( also a necessity)
- Sand-paper for scrapping the walls.
- Electric sander ( to make your work lesser time taking)
- Chemical stripper ( to help remove the varnish from the cabinet doors)
- Masking tape for the painter
- Plastic sheet for covering things.
- Paint brushes and rollers.
- Paint trays and containers.
- Paint sprayer ( this can be optional but can be used in case you are painting your RV interior)
Painting a camper could be costly. So it’s advisable to make a budget and then move accordingly.
Ways Of Painting The RV Wall
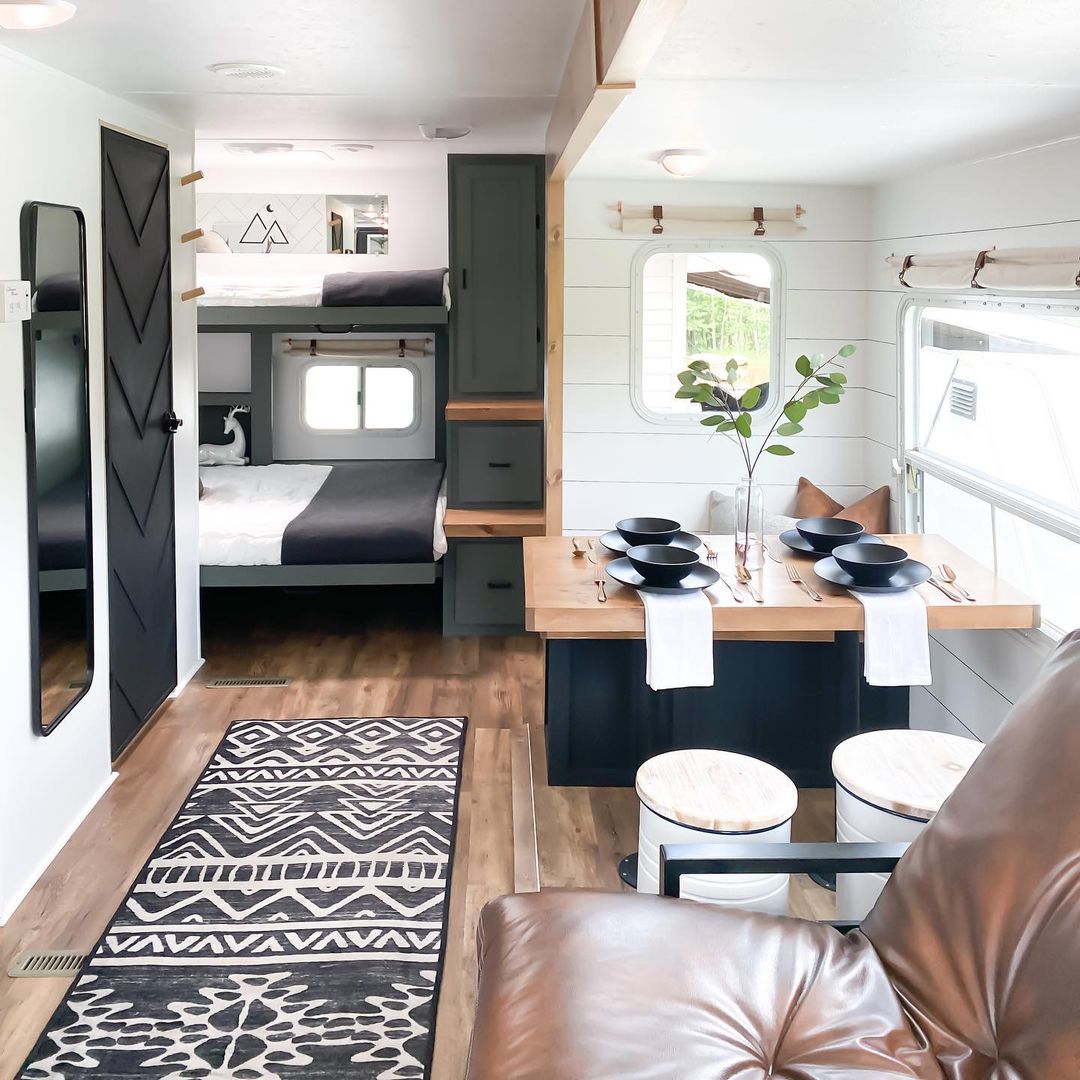
If you are painting RV walls all by yourself, then there are specific steps you need to follow.
- Remove the wallpaper borders.
- The walls should be clean.
- Cover the floorings and appliances with plastic off-trim and with fixtures.
- You can repair the holes and uneven spots. Wipe off the dust with sandpaper.
- If your wallpaper is smooth, you can sand it, creating a textured appearance.
- You can use a primer if required. You can put a primer on the walls and then paint with the final coat.
- You may use a roller or brush to paint multiple coats. You can follow instructions, put on a second coat, and wait for the climatic conditions to dry.
Detailed Process of Painting RV Interior Wall
If you have decided to paint the RV, you can follow the steps meticulously to accomplish a flawless wall. Take care and never rush, as it can lead to failure even after an arduous effort.
- Clearing the RV walls: You can remove any blinds, valances, or other items screwed to the walls. Remove any wallpaper borders present.
- Removing the RV wallpaper borders: You may use the heat gun to loosen the edges. You can apply acetone to remove any adhesive that remains.
- Patching the walls: Fill in the old screws holes with the DAP wood filler. If the surface is raised around the screw hole, you may use the razor for scraping. You may apply the wood filler. Once dry, you may use the 220 grit sandpaper. You can sand only the areas of the wall you’ve patched.
- Clean and grease: You must use a high-quality solution to prevent bubbling, fish-eyeing, and other paint imperfections. You can use a TSP and wipe down the walls. You may remove any oily residue to ensure proper adhesion.
- Caulking the interior seams: If you have gaps along the ceiling and walls, you can get a solution to fill them. Wipe the excess of the solution. You can use a printable caulk, having a lot of flexibility. You can caulk any seams or gaps to ensure a clean finish.
- Tape off any area: You may tape off any place you don’t want to paint. These could be outlets, light switches, window frames, and console panels. You may use a masking film to mask off the larger areas.
- Prime: You may use a good quality primer and apply 2-3 coats on the walls. Once the prime is over, you can apply putty in the visible gaps. Then you must wait 24-48 hours before applying the first coat of paint.
- Paint: After 24 hours of primer application, you can paint the walls. When the first coat dries, you may put another layer.
- Remove any remaining painter’s tape and everything on the wall. You have to take care for two weeks.
Ideas To Add Glamor Quotient To The RV
When painting your RV, you must consider designs for every room. If you paint the walls nude, one of the bedrooms may be a bright color. You may add fun paint to the doors or bright colors to the kitchen cabinet.
Painting the Medicine Cabinet
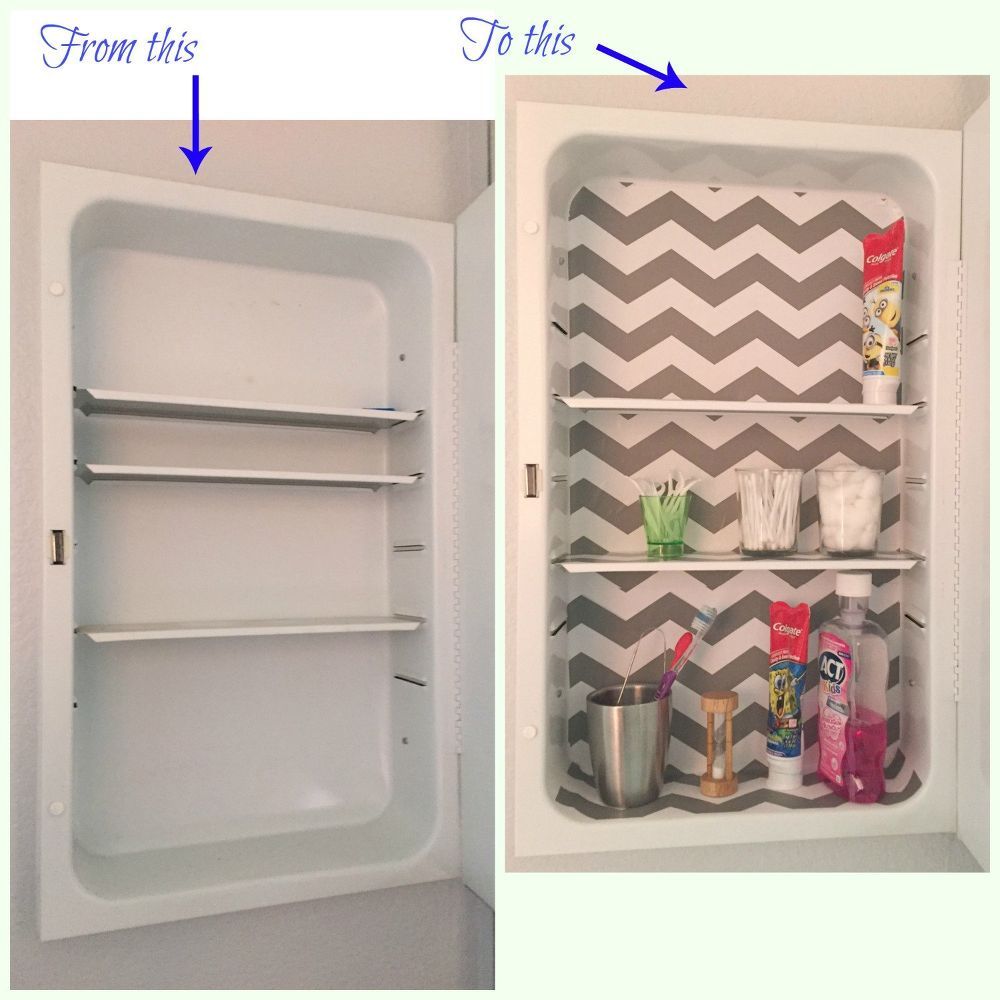
Medicine cabinets get discolored very often. You can scrap the existing paint and then put a primer; afterward, you can put a unique color to give the cabinet a revamped look. Medicine cabinets deserve attention; you can plan to give them a great look. Place things in an organized way and ensure fewer hazards while sorting things.
Brightening your Kitchen
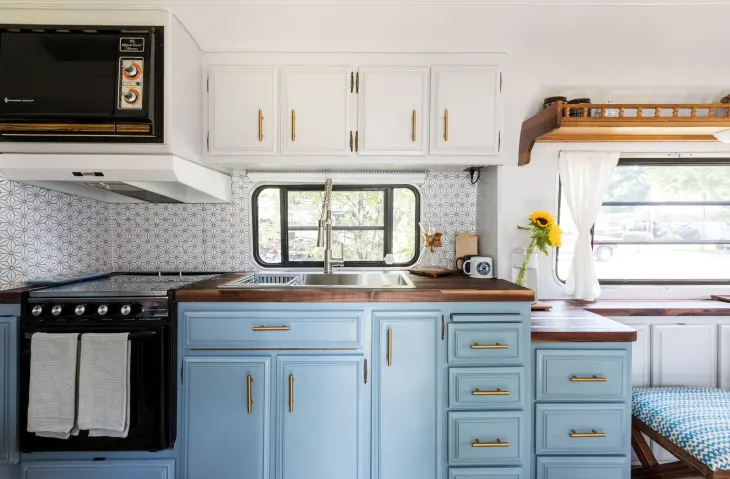
You can paint your kitchen with bright colors. Dark colors might be gloomy. Once you have segregated shelves, you may paint the cabinets and the walls, especially. You may create a divide between the kitchen and the restrooms. White metallic blues might give a revamped look to your RV kitchen.
Some Bold Colors for the Lower Cabinet
You may use two types of colors for the cabinets. Make a combination of dark and light colors. You can decide on the color scheme and go on with choosing over the final touch. Minute changes can bring a vast effect on the look.
Painting the Sliding Door
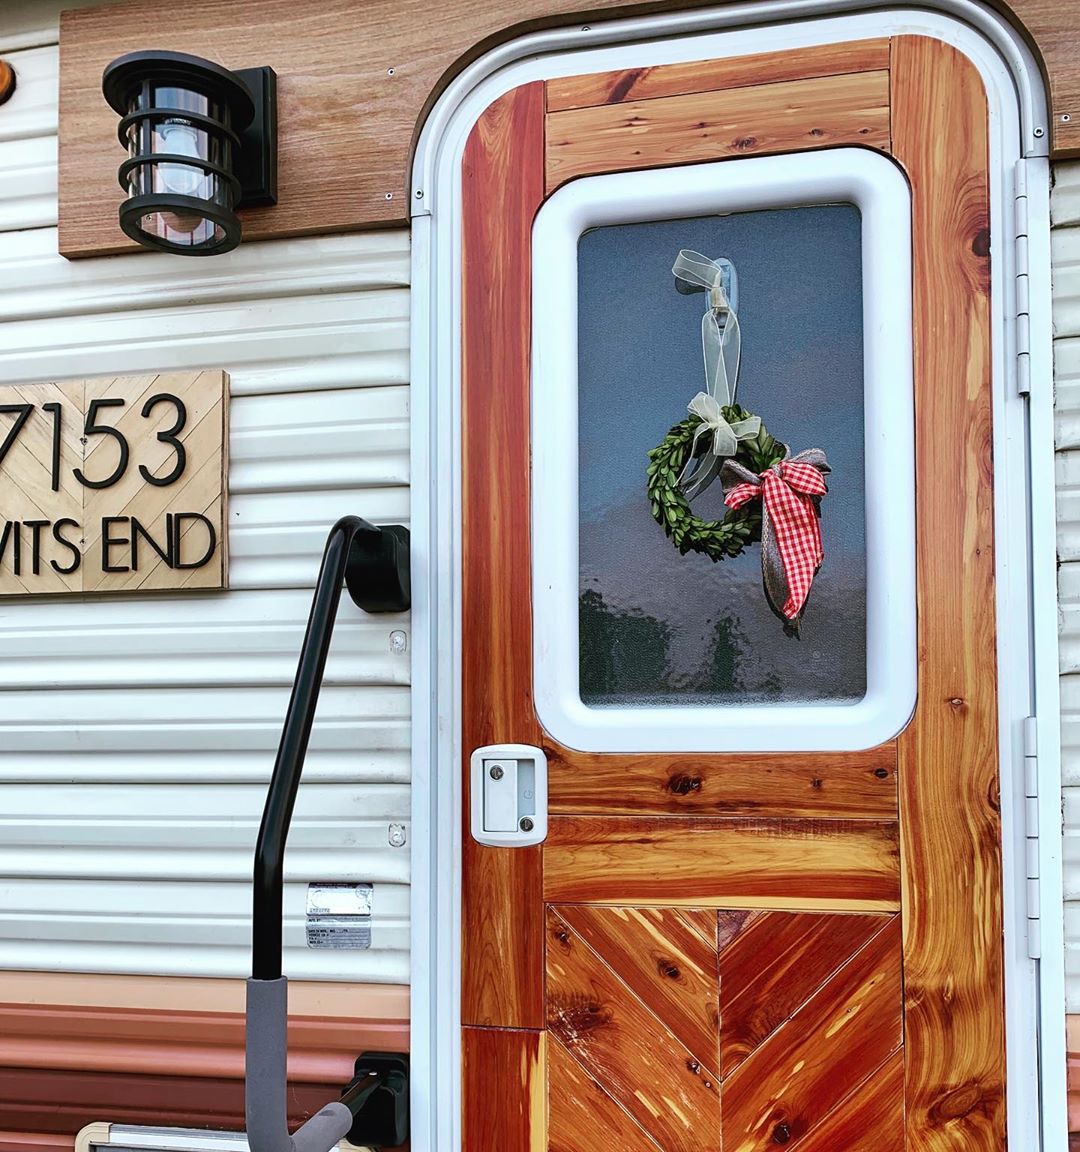
You can paint the sliding doors and match them with the windowsills. You may try sponging on the paint to get those perfect impressions done. Trying multiple colors and getting the flick done could be a good idea. Sliding doors can be done easily, and kids can help you clean up the mess.
Updating the Slide-out Trim
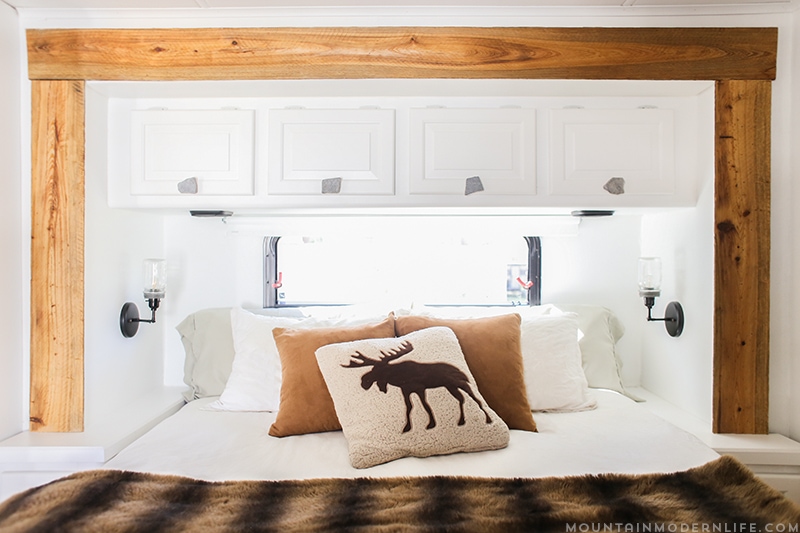
You can apply, paint, or sand it. They might attach the older trims with the staples, screws, and heavy-duty velcros. You may cover the old molding with the new ones. You may attach the new trim using a nail gun and enjoy a simple makeover.
For any makeover project, you need to plan. Decide the color scheme and design that could be the theme of your new look. A good ambiance and RV would help you have a sound journey and boost a reasonable price once you have decided to sell off. You can experiment with painting RV walls.
Last But Not Least
If you have some quick designs and color schemes, you can apply them to paint your RV walls. At the same time, refer to any quick journals and borrow some ideas on painting RV walls. You can either paint or put up wallpaper. You have to decide which could be economical and a long time affair. Living in an RV could be fun, especially if you know how to play with various moods. Repainting and painting the RV walls can add up to the glamour quotient of your RV. Select the paint, plan a bit, pick the brush in your hands and ‘get, set, go.’ A completely new look in just a few weeks!

