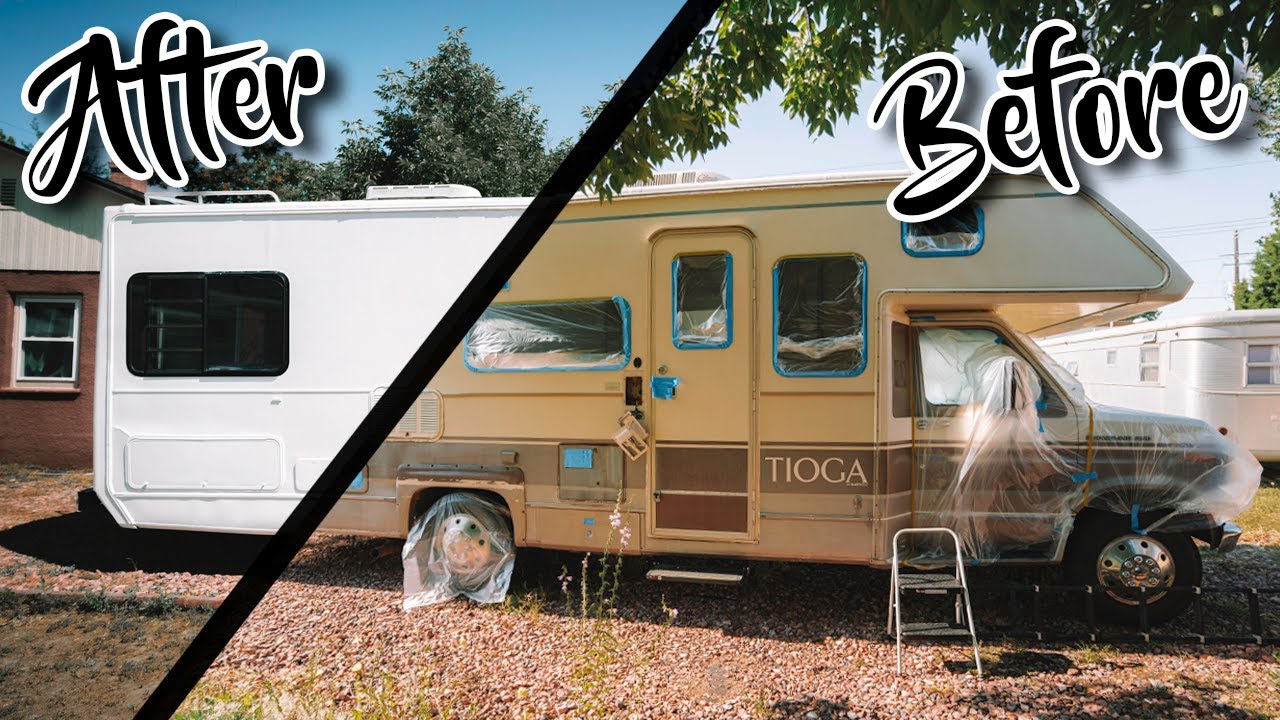
Are you bored with your present life and looking towards living a life out of the box? You can lead the life of a vagabond and look for an RV to roam of your free will. But it would be best if you can care for your RV with great emphasis on its looks, especially the walls since it reflects your taste of life. Caring for the RV is best reflected in the wall conditions.
The RV’s exterior walls must be cared for like the interior. Look for some RV paint and equipment to color the walls. But, before painting, you must arrange some necessary equipment and tools. A good-looking RV could be mind-boggling. Make a note of all the necessary steps you would like to take before painting the area of your desired RV.
Things to Shop for Painting the Exterior of Your RV:
Make sure things are handy and available before you start coloring the walls of your RV. There are other necessities apart from the RV paint.
- Dupli color primer
- Dupli color base color paint
- Dupli color clear coat
- Frog tape painters tape
- Masking paper
- Acetone or goof off
- Scuff pads
- Sanding block
- Microfiber cloth
Tools and Supplies:
- Paint sprayer (for spraying paint on the exterior surface or walls)
- Decal remover (use a chemical for this purpose)
What Are the Necessary Steps You Should Take While Painting the RV’s Exterior?
The first step would be cleaning your RV’s exterior walls. Next, it would be best to wash the dust, dirt, and decals over the RV. Finally, you can use a decal remover tool to remove any trace of decals from the exterior surface.
- Removing the decals: You can utilize a heat gun to remove the decals so that you may pull off the vinyl with the help of your hands. In addition, any decal residue can be washed off with your hands.
- Caulk the exterior joints: Please ensure there be no cracks or gas in the caulks after cleaning the exteriors.You may reseal your RV exterior before you start working on the paints.
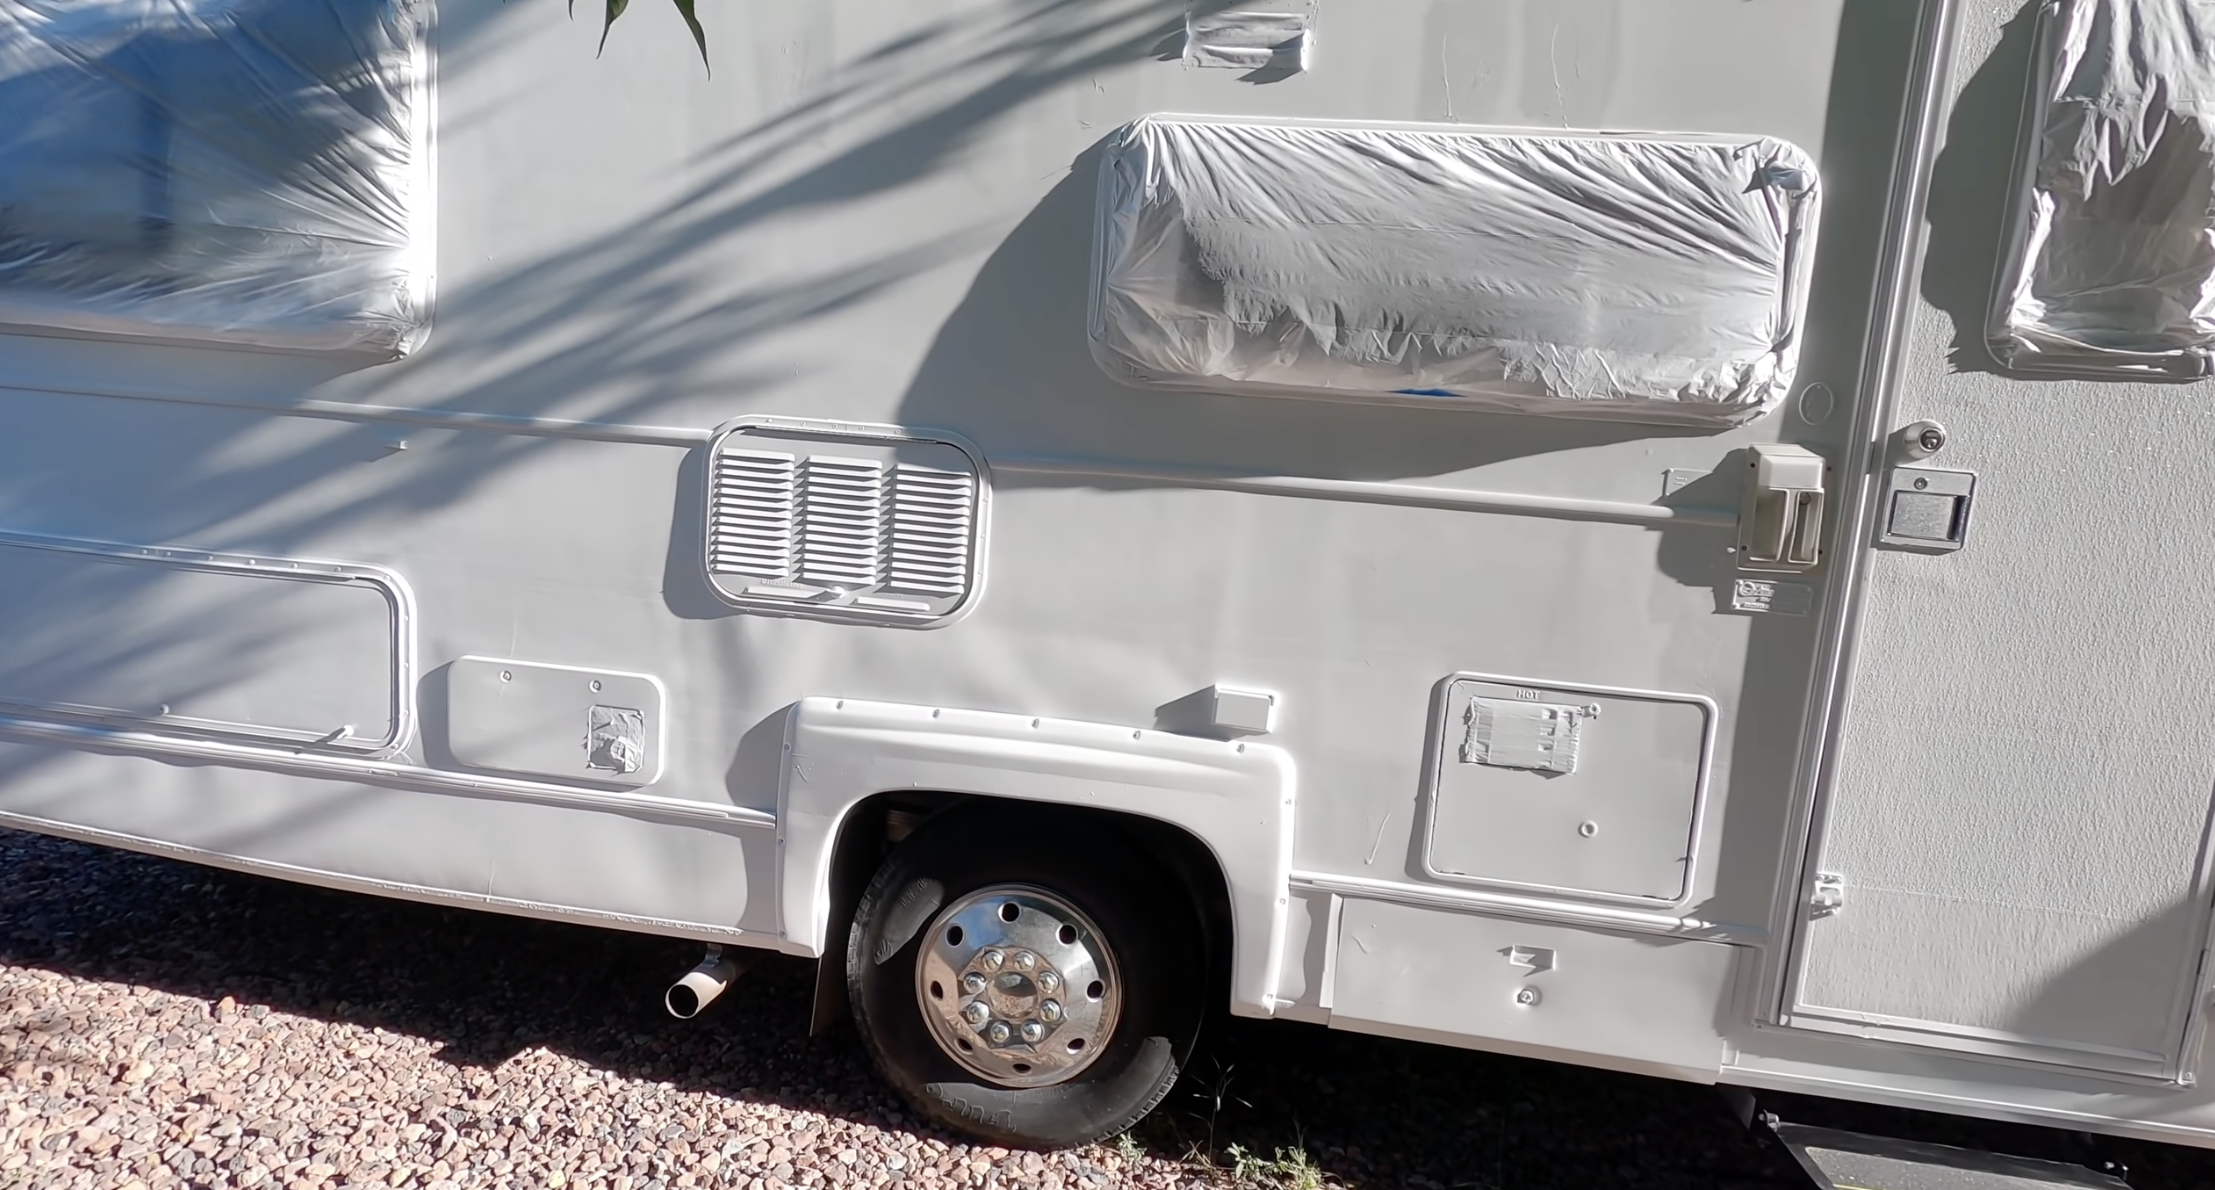
- Taping or masking off any areas: in case you want to avoid any area that you don’t want to paint, in that case, you can mask off that area with the help of tape.
- After taping off some areas, sand down those places you want to paint. A roughened area would allow the paint to stay for some time.
- Clean: You can wipe the walls of the RV with the help of acetone and a microfiber cloth. After wiping, you will ensure that there are no traces of dust in there.
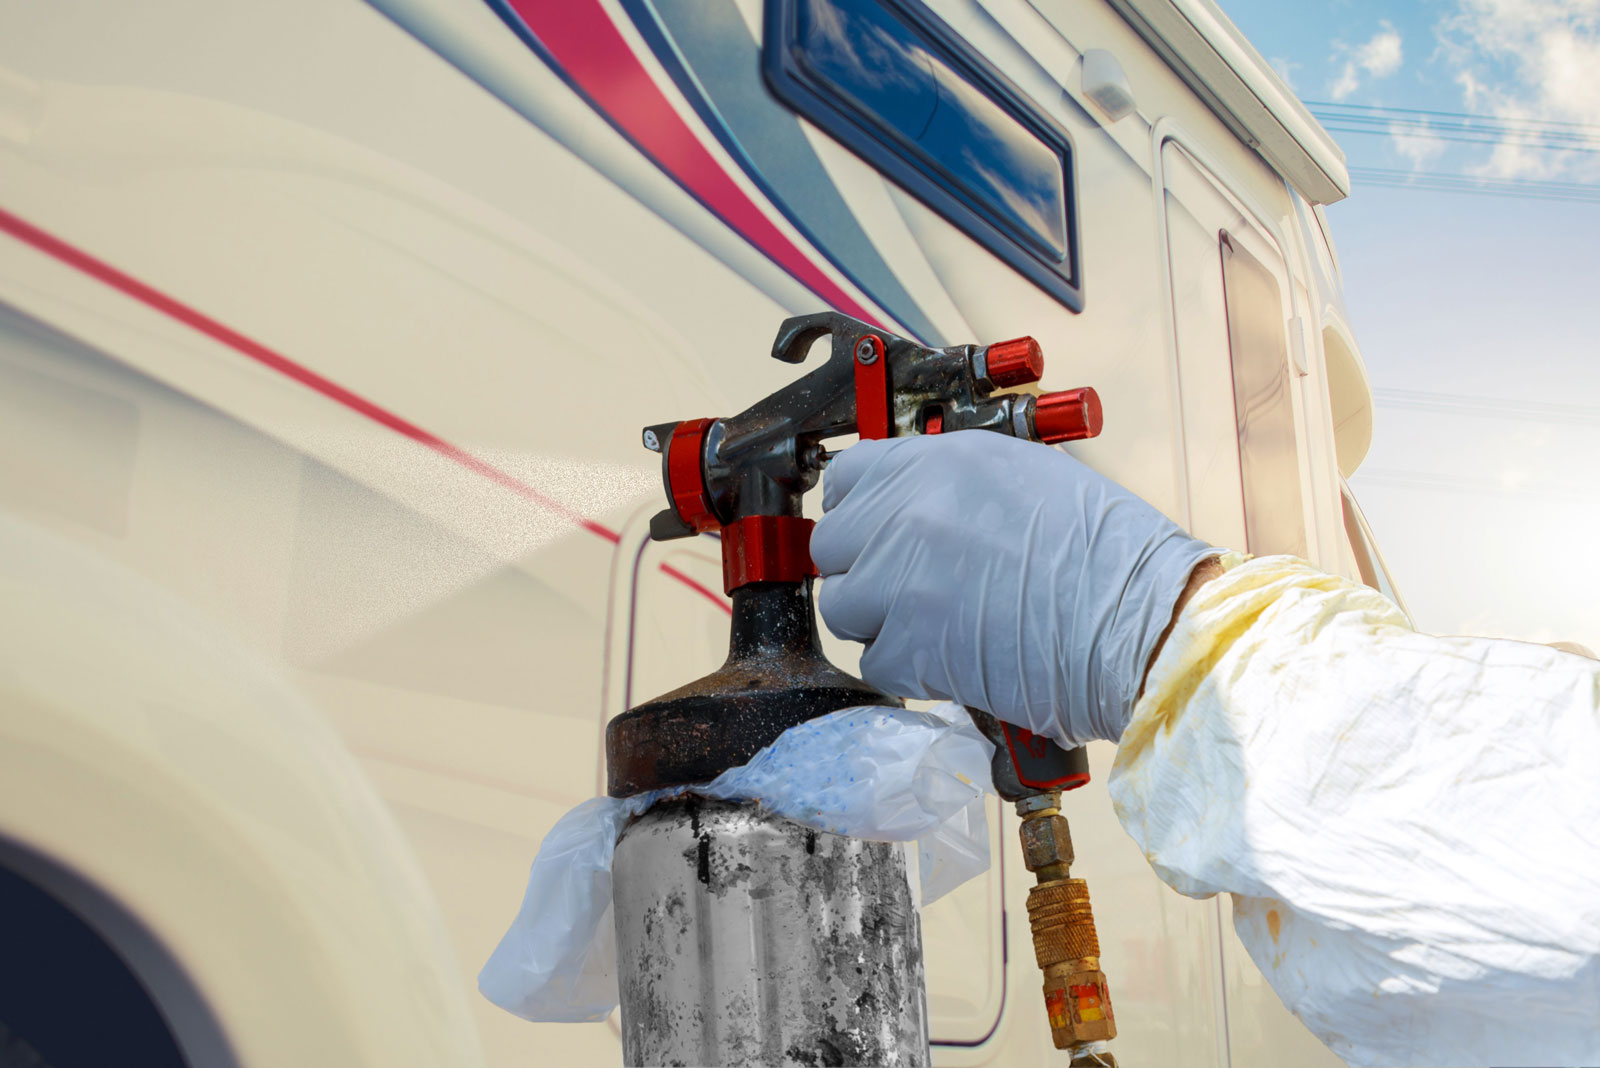
- Primer: You can prime a surface using a spray painter. The presence of primer is essential so that the paint might adhere in place. While you prime the area, it would unify the surface and allow good coverage. Using the spray painter, you can put on a coat and then wait for that to dry. While you use a spray painter, you must keep certain things in mind.

- Try keeping a wet edge.
- Move in with smooth and horizontal movements.
- You have to keep your spray in a vertical position.
- You have to spray at least 10-12 inches from your RV’s exterior.

- Scuffing: After you allow the paint to dry, you can scuff the area with a scuff pad. You can wipe off the entire area with the help of a damp cloth and remove any dust particles present there.
- Applying the second coat: When the first coating has dried up, you can put the second coating of paint. You may have to put in 2-3 coats of paint for a smooth finish.
- Clear coat:After the second or third coat of paint is done, then apply the paint sprayer and, finally, a clear coat. The coat would give a finished look and prevent it from fading.
How to Maintain the Exterior Walls of the RV
It would be best if you protect your RV’s exterior from being damaged by UV rays.Over the years, sun exposure can fade the RV decals. However, there are some ways the RV exterior can look new.
- You have to wax your RV regularly.
- You can park the vehicle in the shade.
- You have to buy a costly RV cover.
Tips Should You Keep in Mind While Painting Your RV
- Wait for dry weather: You must wait for perfect dry weather. Avoid painting if you see a humid atmosphere, as it would take longer to dry up.
- Doing a thorough inspection and prep: Do a thorough inspection of the walls of the RV, and if you see any flakes coming out, you have to sand or scrap it off. Any new paint over the old ones will pull it down. They can be pulled with soap or a damp cloth whenever you see greasy spots.
- Buy brushes, roll covers, and painter’s tape: If you spend a good amount on paint, then there is no need to save on the tools. Instead, you can buy good-quality brushes, roll covers, and tapes. In addition, tapes can save time as the paint can appear in drips and blurs.
- Knowing your naps: Apply thicker naps if you have textured walls. It would help if you prepared a dry nap when it’s a thin wall. You have to give the salesperson details of your walls. A thicker nap might help to create a textured wall. Choosing the quality of paints is the most vital step that you can do before getting your walls painted.
- Protecting things you don’t want to be painted: If you don’t wish to certain places to be painted, you can cover them with plastic bags and cloth and then tape them tightly. Use some bags from the shop to secure items like the door knobs.
- Removing switchboards: You can remove all the light and outlet switches and replace them whenever the paint job is done.
- Putting primer: You have to put paint and primer options for places that are difficult to paint. You may go for a separate primer whenever there is a painting challenge.
- Putting in smaller cans: You can place your paint in smaller boxes and then make a mix of it. You can view them in the boxes and then use them thoroughly. You can even mix the paints and make a different shade altogether. Keeping the shades in various cans would help you organize.
- Using the roller: You may use the roller in painting the walls. The choice of a roller brush is important as it can do the work evenly.
How to Paint Stripes on Your Walls
Painting your walls can be of various designs. If you want to make stripes, you can do them vertically or horizontally. Vertical lines would make you feel the room has a great height. If the lines are horizontal, it would be like a room with a longer dimension.
Now use a roller brush to pick up the paints and strike them from one side to another. Now you can remove the tapes from the sides. Make sure that while sticking, you stick the tapes properly, so the paint doesn’t drop.
Once removed, the paint would appear like stripes and would look fantastic. Take time to remove the tapes slowly after allowing them to dry thoroughly.
What Sort of Paints Can You Use Outdoors?
You can use marine epoxy or marine deck paint. For the exteriors of the RV, you can even use acrylic latex or maybe oil-based paint. Oil-based paint might take a long time to dry thoroughly. You may even use automotive paint for the RV. If you are painting fiberglass, you will have a wide range of choices, from marine coating to the regular type of exterior house paint.
The average cost of RV paint in a vehicle of 26 feet could be $12,000 to $30,0000. Painting all by yourself might save you time and some money. Anyways, professional painting can assure quality and is done within a stipulated time frame. You can hire an RV detailer to know the actual state of the vehicle, i.e., whether it could be painted or not.
In a Single Take:
You can paint the exterior walls of your RV. Buy paints from the stores and decide the time. You can clean the walls of the exterior of your RV, remove the decals and then start painting. You can choose over making the designs and will have separate themes for having designs like either stripes or patches.
Cover the areas that you don’t want to be painted, and you can tape them off. Use roller brushes or paint brushes depending on the area you want to paint. The wide area requires spray paint, while regular brushes can be used in smaller areas.
Using roller brushes can be the best while you are painting in stripes. Make a detailed analysis in case you want to paint all by yourself, or maybe you can hire a professional. If you have the time and patience and a chosen range of RV paint in hand, there is nothing like getting the painting job done by yourself. Getting your RV paint done could be an exciting project!

