A recreational vehicle (RV) needs an adequate supply of fresh water for cooking, drinking, cleaning, and bathing. To protect your campers from bacterial infections that cause conditions like nausea, diarrhea, gastrointestinal issues, and severe problems that adversely impact kidneys, it is imperative to maintain your RV’s fresh water tank and other crucial parts.
You can also have a routine schedule to check your RV gear and maintain all essential equipment to avoid ill-health and other roadblocks on your trip. To sanitize your RV tank, you must collect the necessary supplies, understand how to drain an RV freshwater tank, add a suitable cleaning agent, and drain and rinse the tank. In addition to cleaning the tank inside, remember to clean the rim, cover/lid, and outer surface.
Steps to Sanitize Your RV Fresh Water Tank

Here’s a detailed description of 10 steps to clean your RV tank instantly:
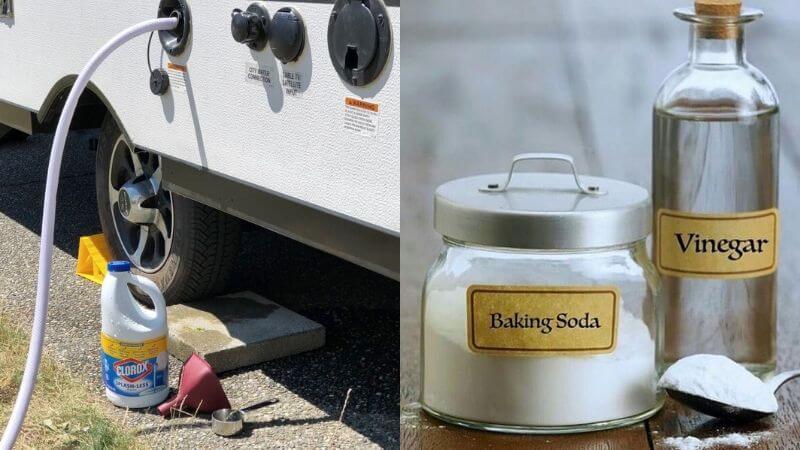
- Collecting: Collect a sponge or rag, a sanitizing agent like unscented bleach, measuring cups, a container for mixing solutions, rubber gloves, and a hose connected to a potable water source.
- Switch off the heater: Turn off the water heater (propane or electric) and water supply fixtures to avoid detergents from damaging the equipment. Also, ensure to cool water from the heater before draining it.
- Drain the tanks: Drain the fresh and grey water tanks to sanitize them completely. To speed up the process, you can open the taps and shower simultaneously.
- Bypass water: If you cannot drain the entire water contents, bypass water from the heater and onboard filters by closing valves or attaching tubing between connectors to remove the water filter.
- Disconnect the hoses: Disconnect all hoses and pipes to avoid cross-contamination. You can store the hoses covered with plastic wrap to be used later.
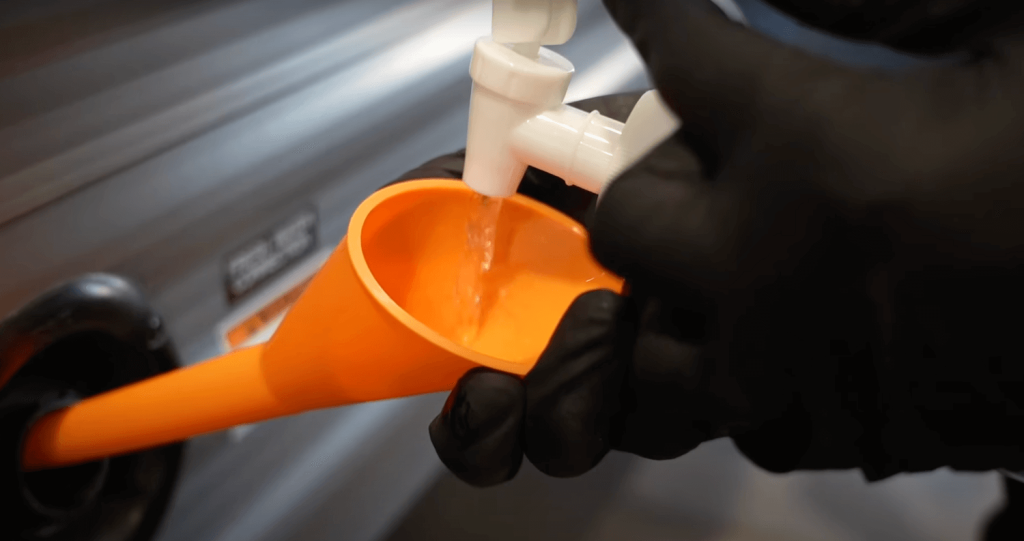
- Add a sanitizing agent like chlorine bleach solution. Calculate the correct bleach ratio to avoid harming the gaskets and plumbing system. If you add extra or dilute it too much, proper cleansing cannot be achieved.
- Fill the tank: Fill the water tank to maximum capacity and ensure the solution reaches all nooks and corners. Check the overflow valve to know when the tank is full.
- Let the bleach settle: Let the bleach solution sit for a long to kill bacteria and other contaminants effectively. To ensure the sanitizing solution reaches all corners of the tank, you can drive around for a few minutes and leave it still for 8 to 12 hours.
- Remove the remnants of bleach: Drain the tank and rinse to remove remnants of the bleach solution. Fill the tank with potable water and repeat the flushing until the bleach smell disappears.
- Cleaning the exterior: Also, clean the exterior surface of the water tank and sanitize the fittings to prevent contaminants and other debris that might come in contact with the water surface.
Important Factors Related to Sanitization
Whether you are a full or part-time camper, the water tank needs to have regular circulation and maintenance of clean water. You must also sanitize the water tank to remain healthy on all your road trips.
Sanitizing a regular-sized freshwater tank usually takes about 8 to 12 hours. Although the process may seem time-consuming, it is necessary to kill all pathogens and thoroughly kill bacteria that hamper the quality of drinking water.
Fresh water stored in tanks is susceptible to potential pathogens, bacteria, and molds that affect consumers negatively. While many city tanks have chlorine, it is necessary to disinfect water using mild cleansers and ensure it is fit for consumption. Besides carrying out sterilization periodically, you can install filters to sanitize drinking water further.

If you are not too keen on using bleach for sanitizing, you can choose either economical solutions like baking soda or components that are vinegar-based. You can use diluted white vinegar from your pantry, heated to 130°F (55°C), or non-toxic hydrogen peroxide that maintains pH balance and ensures it is safe for consumption.
At times, some RV owners use these household remedies in addition to industry-grade cleansers to break down scum and kill germs that give an unpleasant taste and smell to the stored water. You can also use chlorine that leaves no residue when diluted in water properly and becomes inactive after usage.
In addition to maintaining RV freshwater tanks for potability and winterizing, use antifreeze for plumbing lines, remove calcium deposits that clog lines, add sterilizers, cleaners, and water softeners with filters to get rid of unpleasant odors, and ensure cleanliness of drinking water.
Experts suggest that you need to sanitize RV water tanks at least twice a year, and if you are using the camper after a long time, it is recommended to clean it thoroughly before the first trip. Besides annual checks and repairs, you can prepare a maintenance schedule for checking all parts and equipment every 3 to 6 months.
Final Thoughts
Sanitizing the water tank regularly will ensure you have safe, clean drinking water that can also be used for cooking. Besides preventing illnesses, sanitization also creates environmentally friendly habits since you do not need to discard store-bought water bottles that add to trash and traveling expenses.
To thoroughly sanitize the RV tank, first drain out the water, add cleaning solutions, and leave it undisturbed for at least 8 hours. Fill the tank with clean water and rinse until the bleach smell disappears. Repeat the process at least once a month to ensure potability of water.
Now that you know how easy it is to keep your RV freshwater tank clean, follow the simple steps every month to prevent diseases and avoid damaging essential parts of your trailer.

