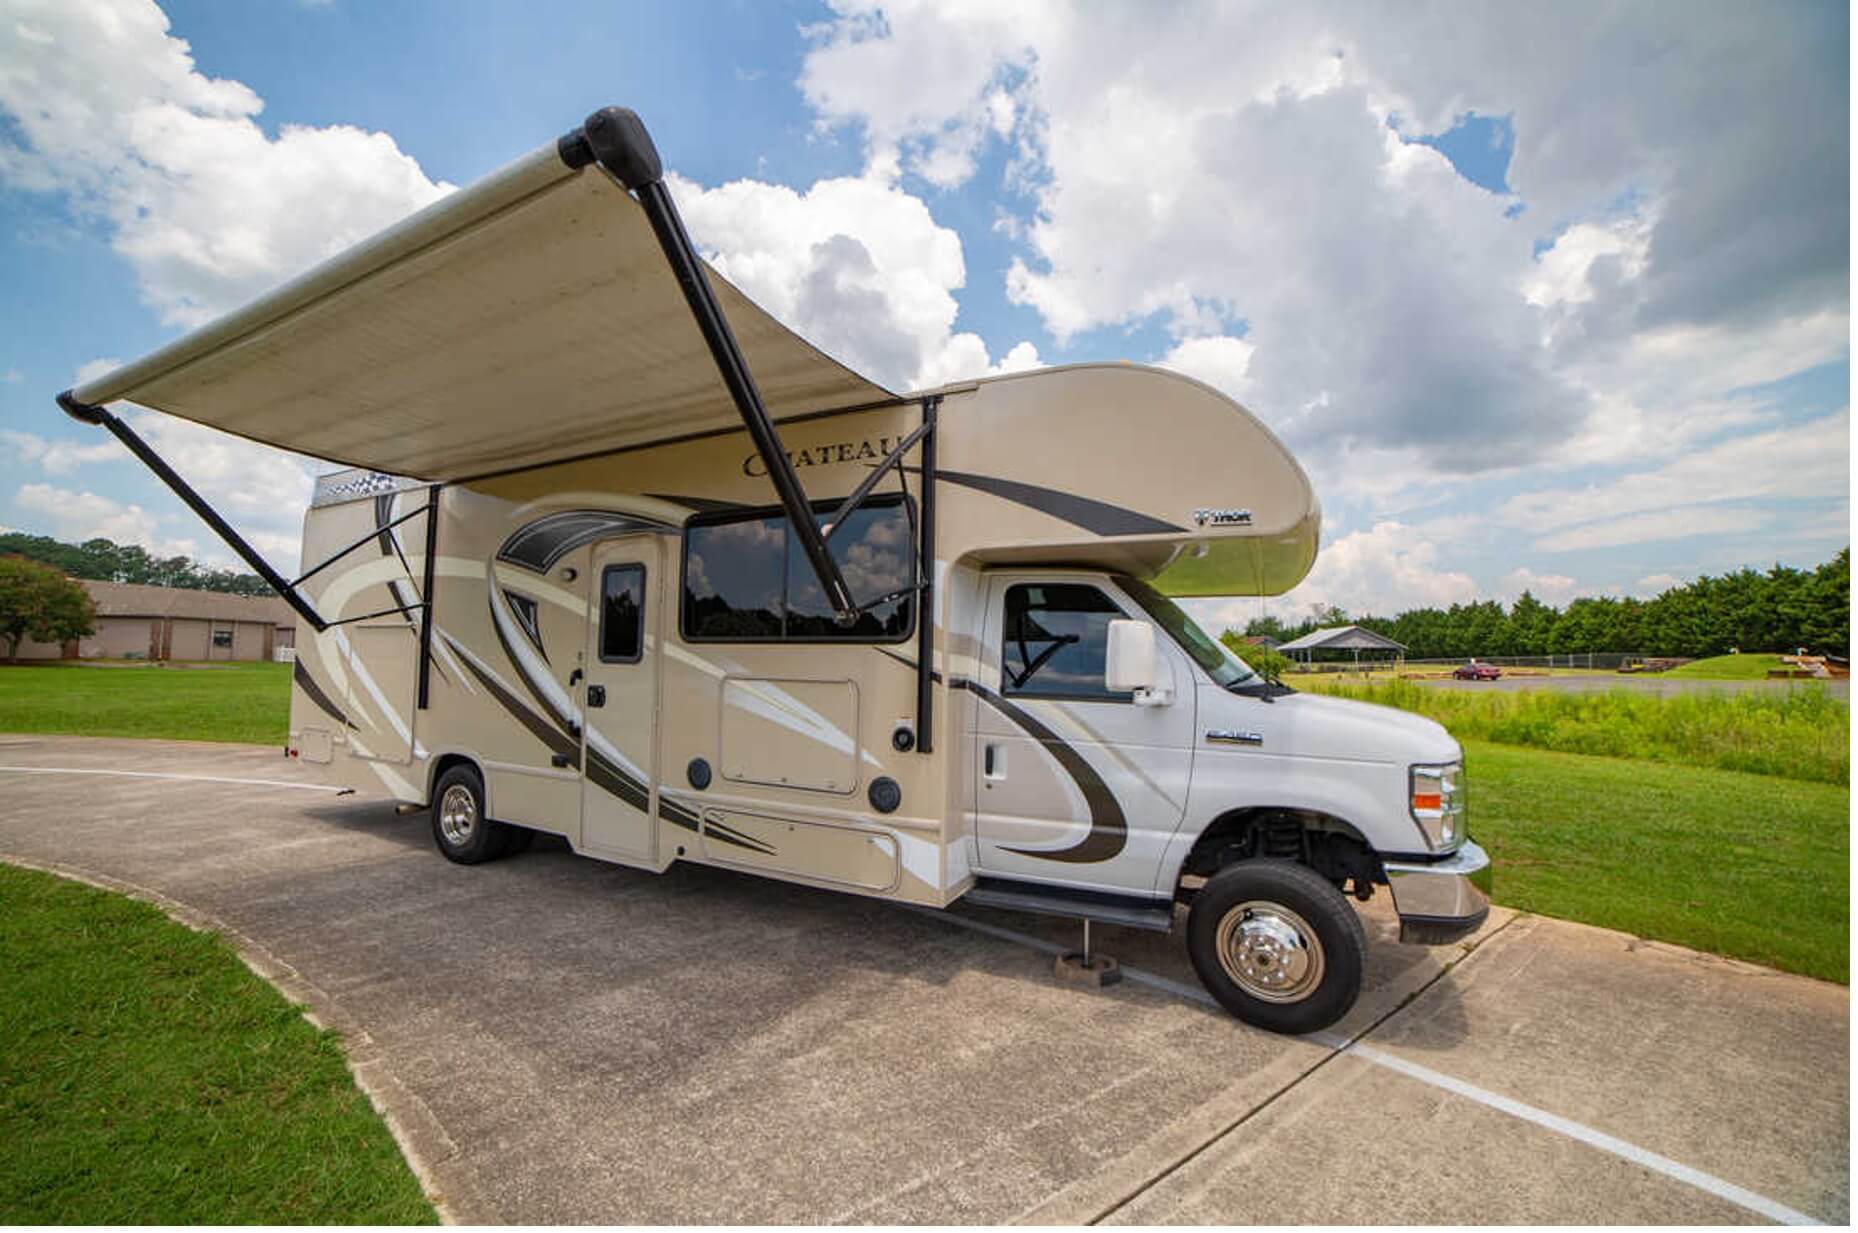
Be it camping or touring, RVs are a pure delight. They make you feel at home even when you are away. Therefore, maintaining and keeping them in top-notch condition becomes essential.
Amongst all, the roof is the most neglected part when it comes to cleaning, but it is as important to clean as the interiors. Neglecting the roof cleaning can result in damage to the roof and seepage due to oxidation, which can cost you a lot of money. This article will take you through five simple steps to clean RV rubber rooftop.
Type of RV’s Rooftop
Knowing your RV’s roof type is a very basic requirement. Generally, RV’s roof comprises aluminum, fiberglass, or rubber-coated materials. Rubber is used for its low price, lightweight, and water resistance.
Rubber roofs can be of two types – Ethylene Propylene Diene Monomer (EPDM) or Thermal Polyolefin (TPO). The former ones need resealing every 3-4 years, regardless of proper upkeeping.
While you clean RV Rubber Rooftop, it is important to know that EPDM roofs are less resistant to solvents and oils. Therefore, refrain from using abrasive and petroleum-based cleaners as they can damage the rubber.
Steps To Clean Your RV Rooftop
Step 1: Ensure Your Safety:
You will have to climb to the rooftop to clean it. This is the tricky part. Some RVs have a ladder on either of the sides, while some do not. If your RV does not have a ladder to the rooftop, then you will need to arrange one.
You can also use some sort of other stacked objects to make it to your RV’s rooftop for cleaning but be extra careful as it may cause you to fall and injure yourself. Therefore, we recommend you arrange for a ladder and climb safely.
Once you are on the rooftop, you can pull the essential cleaning items using a rope. Do not carry them while climbing; you can fall if your hands are busy holding cleaning materials.
It is also okay to get help from someone who can pass the cleaning materials to you and keep an eye on you while you are cleaning.
Step 2: Inspect Your Roof:
Over time, the rooftop gets covered with dirt. Especially if you live in a polluted area, the dirt sticks to the rubber part of the roof; before applying any cleaning materials, it is good to sweep the roof first.
Sweeping the roof will remove the upper layer of dirt, and it will also help in loosening the dirt sticking to the surface.
Be more cautious while cleaning the RV rooftop because one slippery step and you can fall from the top.
Step 3: Rinse the RV Rooftop:
Once you are done sweeping, rinse the rooftop with water and leave it like that for some time. Doing this will further loosen the dirt and make it easier to clean the RV rooftops.
While rinsing the roof, the water may drip down on the sides, making your RV look dirty. This will also increase your work as you have to clean the sides as well. To prevent this, you can cover the sides using plastic sheets.
Step 4: Use Suitable Cleaning Materials:
Once appropriately rinsed, use a moderate bristle brush to clean the RV rooftop. If there are stains that persist, you can use a soft scrubber to clean them.
Once you are done with the general cleaning, you can use a large mop along with water spray to mop the surface at the end.
Do not use petroleum distillates or acidic or citrus solvents to clean the RV rooftop. Petroleum distillate cleaners can cause harm to the rubber resulting in swelling of sections and uneven thickness.
Similarly, acidic cleaning materials can strip the rubber over time and can cause corrosion to the parts underneath it.
While the safe cleaning materials are any mild laundry detergents, the best guide to choosing the right cleaning material is the manual.
We have picked some of the bestselling rooftop cleaners for you. You can definitely give them a try and clean your RV rooftop safely – Simple Green – All-purpose cleaner, 303 Rubber Roof Cleaner, Camco Pro-Tec RV Rubber Roof Care System, Propack Rubber Roof Cleaner.
Step 5: Cleaning the RV rooftop:
Divide the rooftop into sections and prefer cleaning from front to back side. Most RVs have a ladder on their back, so you can step down easily once the cleaning is done.
Apply cleaning detergent using a spray and use the moderate bristle brush to sweep the surface. Rinsing has already loosened the dirt, so it will start coming out easily. If you notice any spots, then apply spray more detergent over the area and scrub it off using the soft brush scrubber.
Repeat this process for every section till the entire rooftop is cleaned. Now it’s the time to complete the task, so apply water on the rooftop again to ensure no detergent or dirt is remaining and mop it off.
You can use a mild pressure hose in the final step to clean the RV rooftop. Make sure there is no residue build-up on the roof and nearby areas where logging can occur.
Clean RV rooftop 4-5 times a year to ensure there is no dirt logging and damage to your roof. When you get onto the roof to clean, it also allows you to inspect the roof for any damages.
Conclusion
It is always advisable to regularly clean the RVs rooftop as it is the part that faces direct dirt and the harsh environment. Neglecting it can result in seepage, which can also damage the interiors. Hence, cleaning the rooftop of an RV is essential but not difficult.
We saw which pieces of equipment and cleaning materials are the right choices for your RV’s roof. But do not neglect your safety, and always follow the safety protocols when cleaning the RV’s rooftop.

